

Category:
General
Published:
Nov 4, 2025
Author:
Kyle Humber
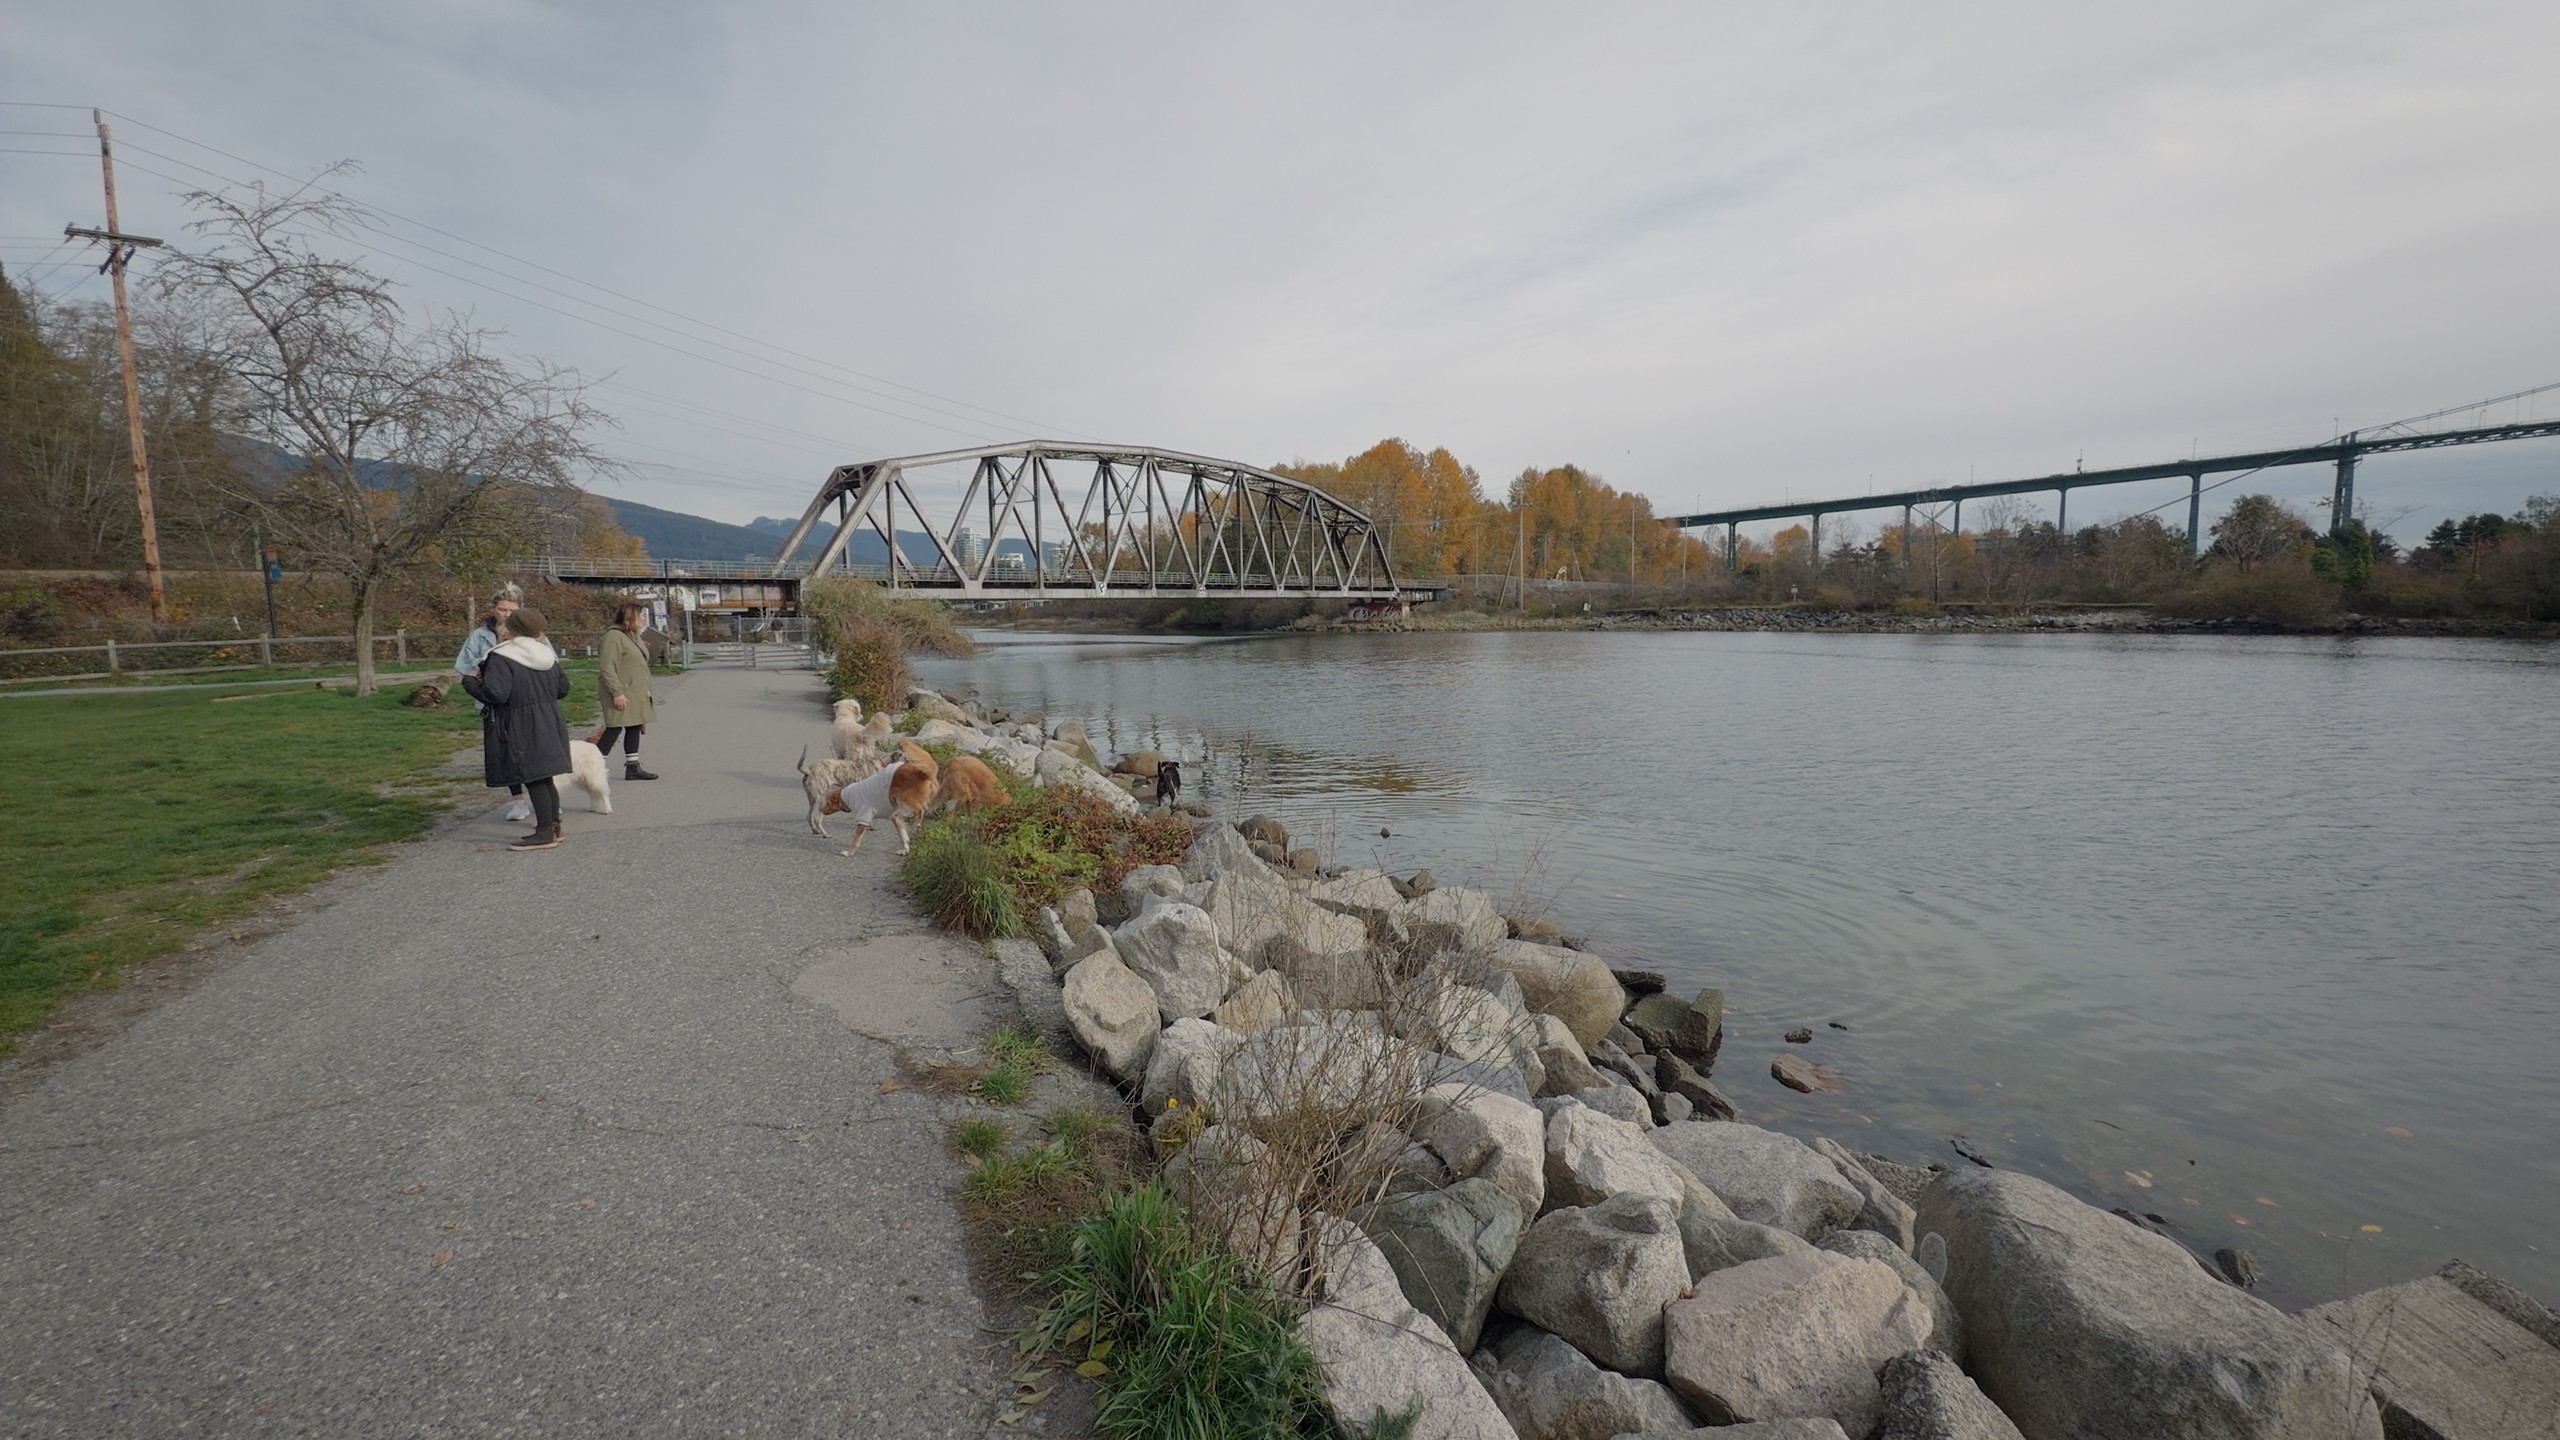
The Video
Filming Apple ProRes on an Apple Device?!
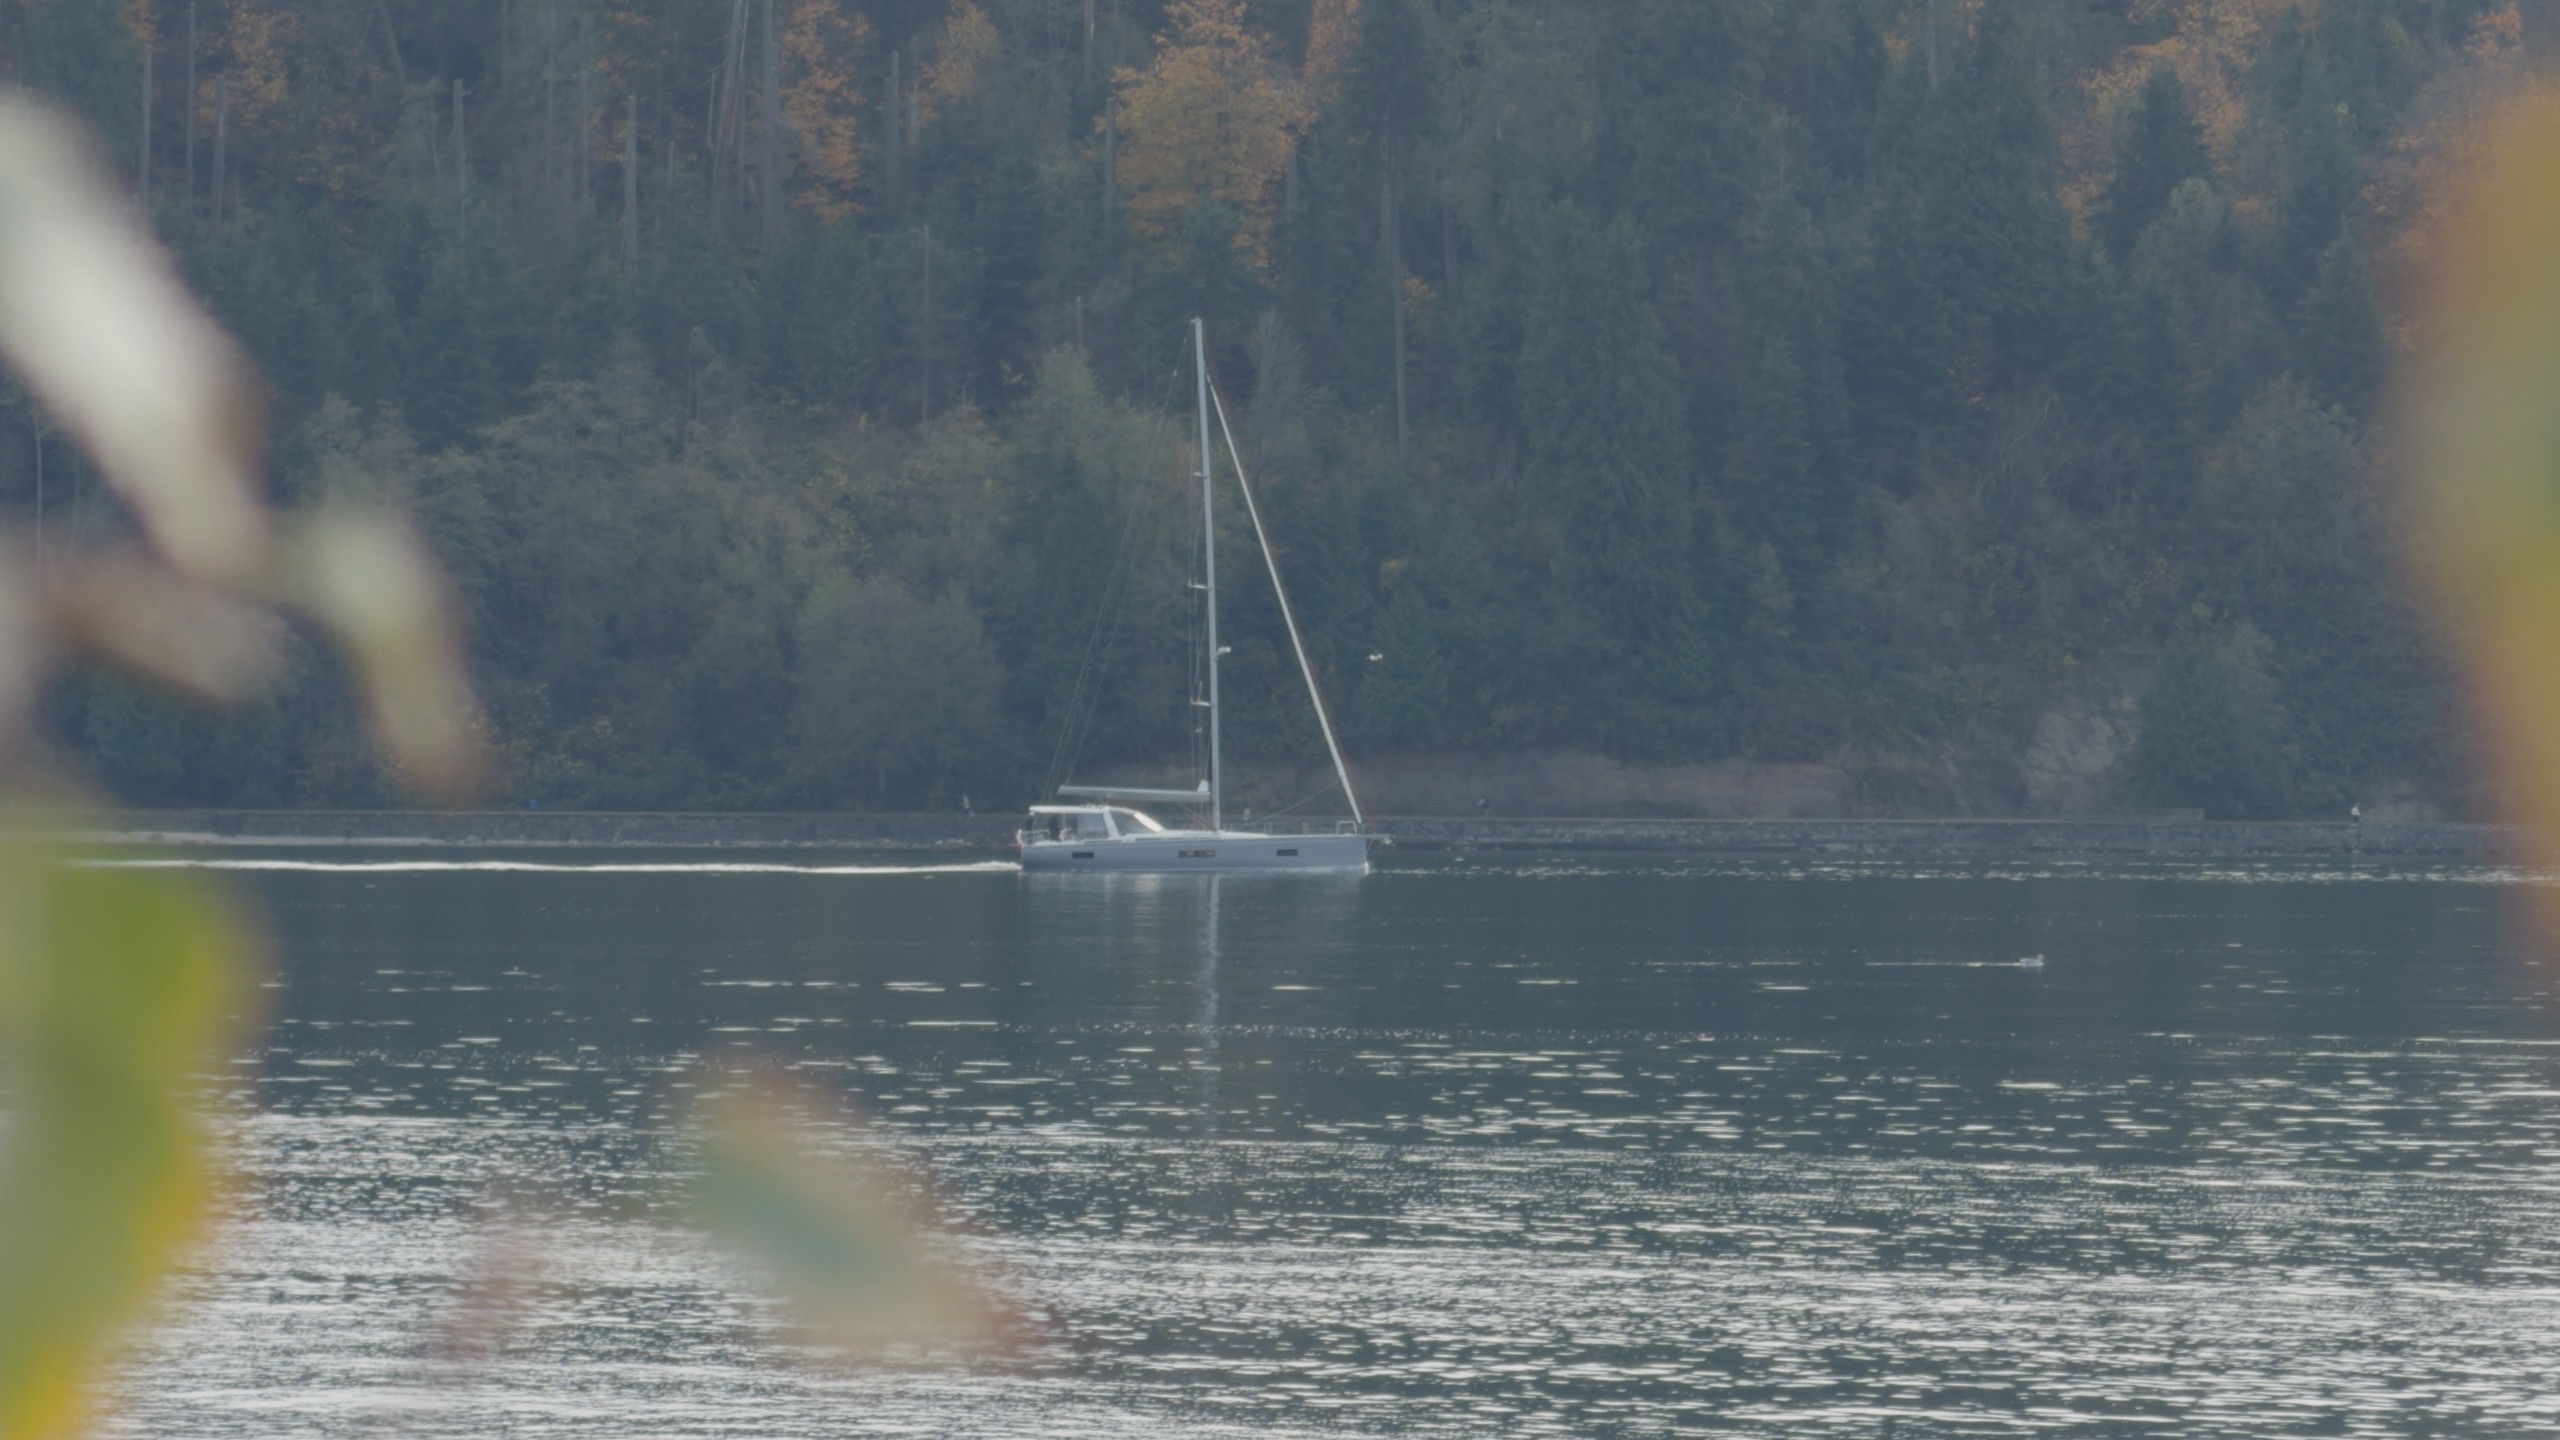
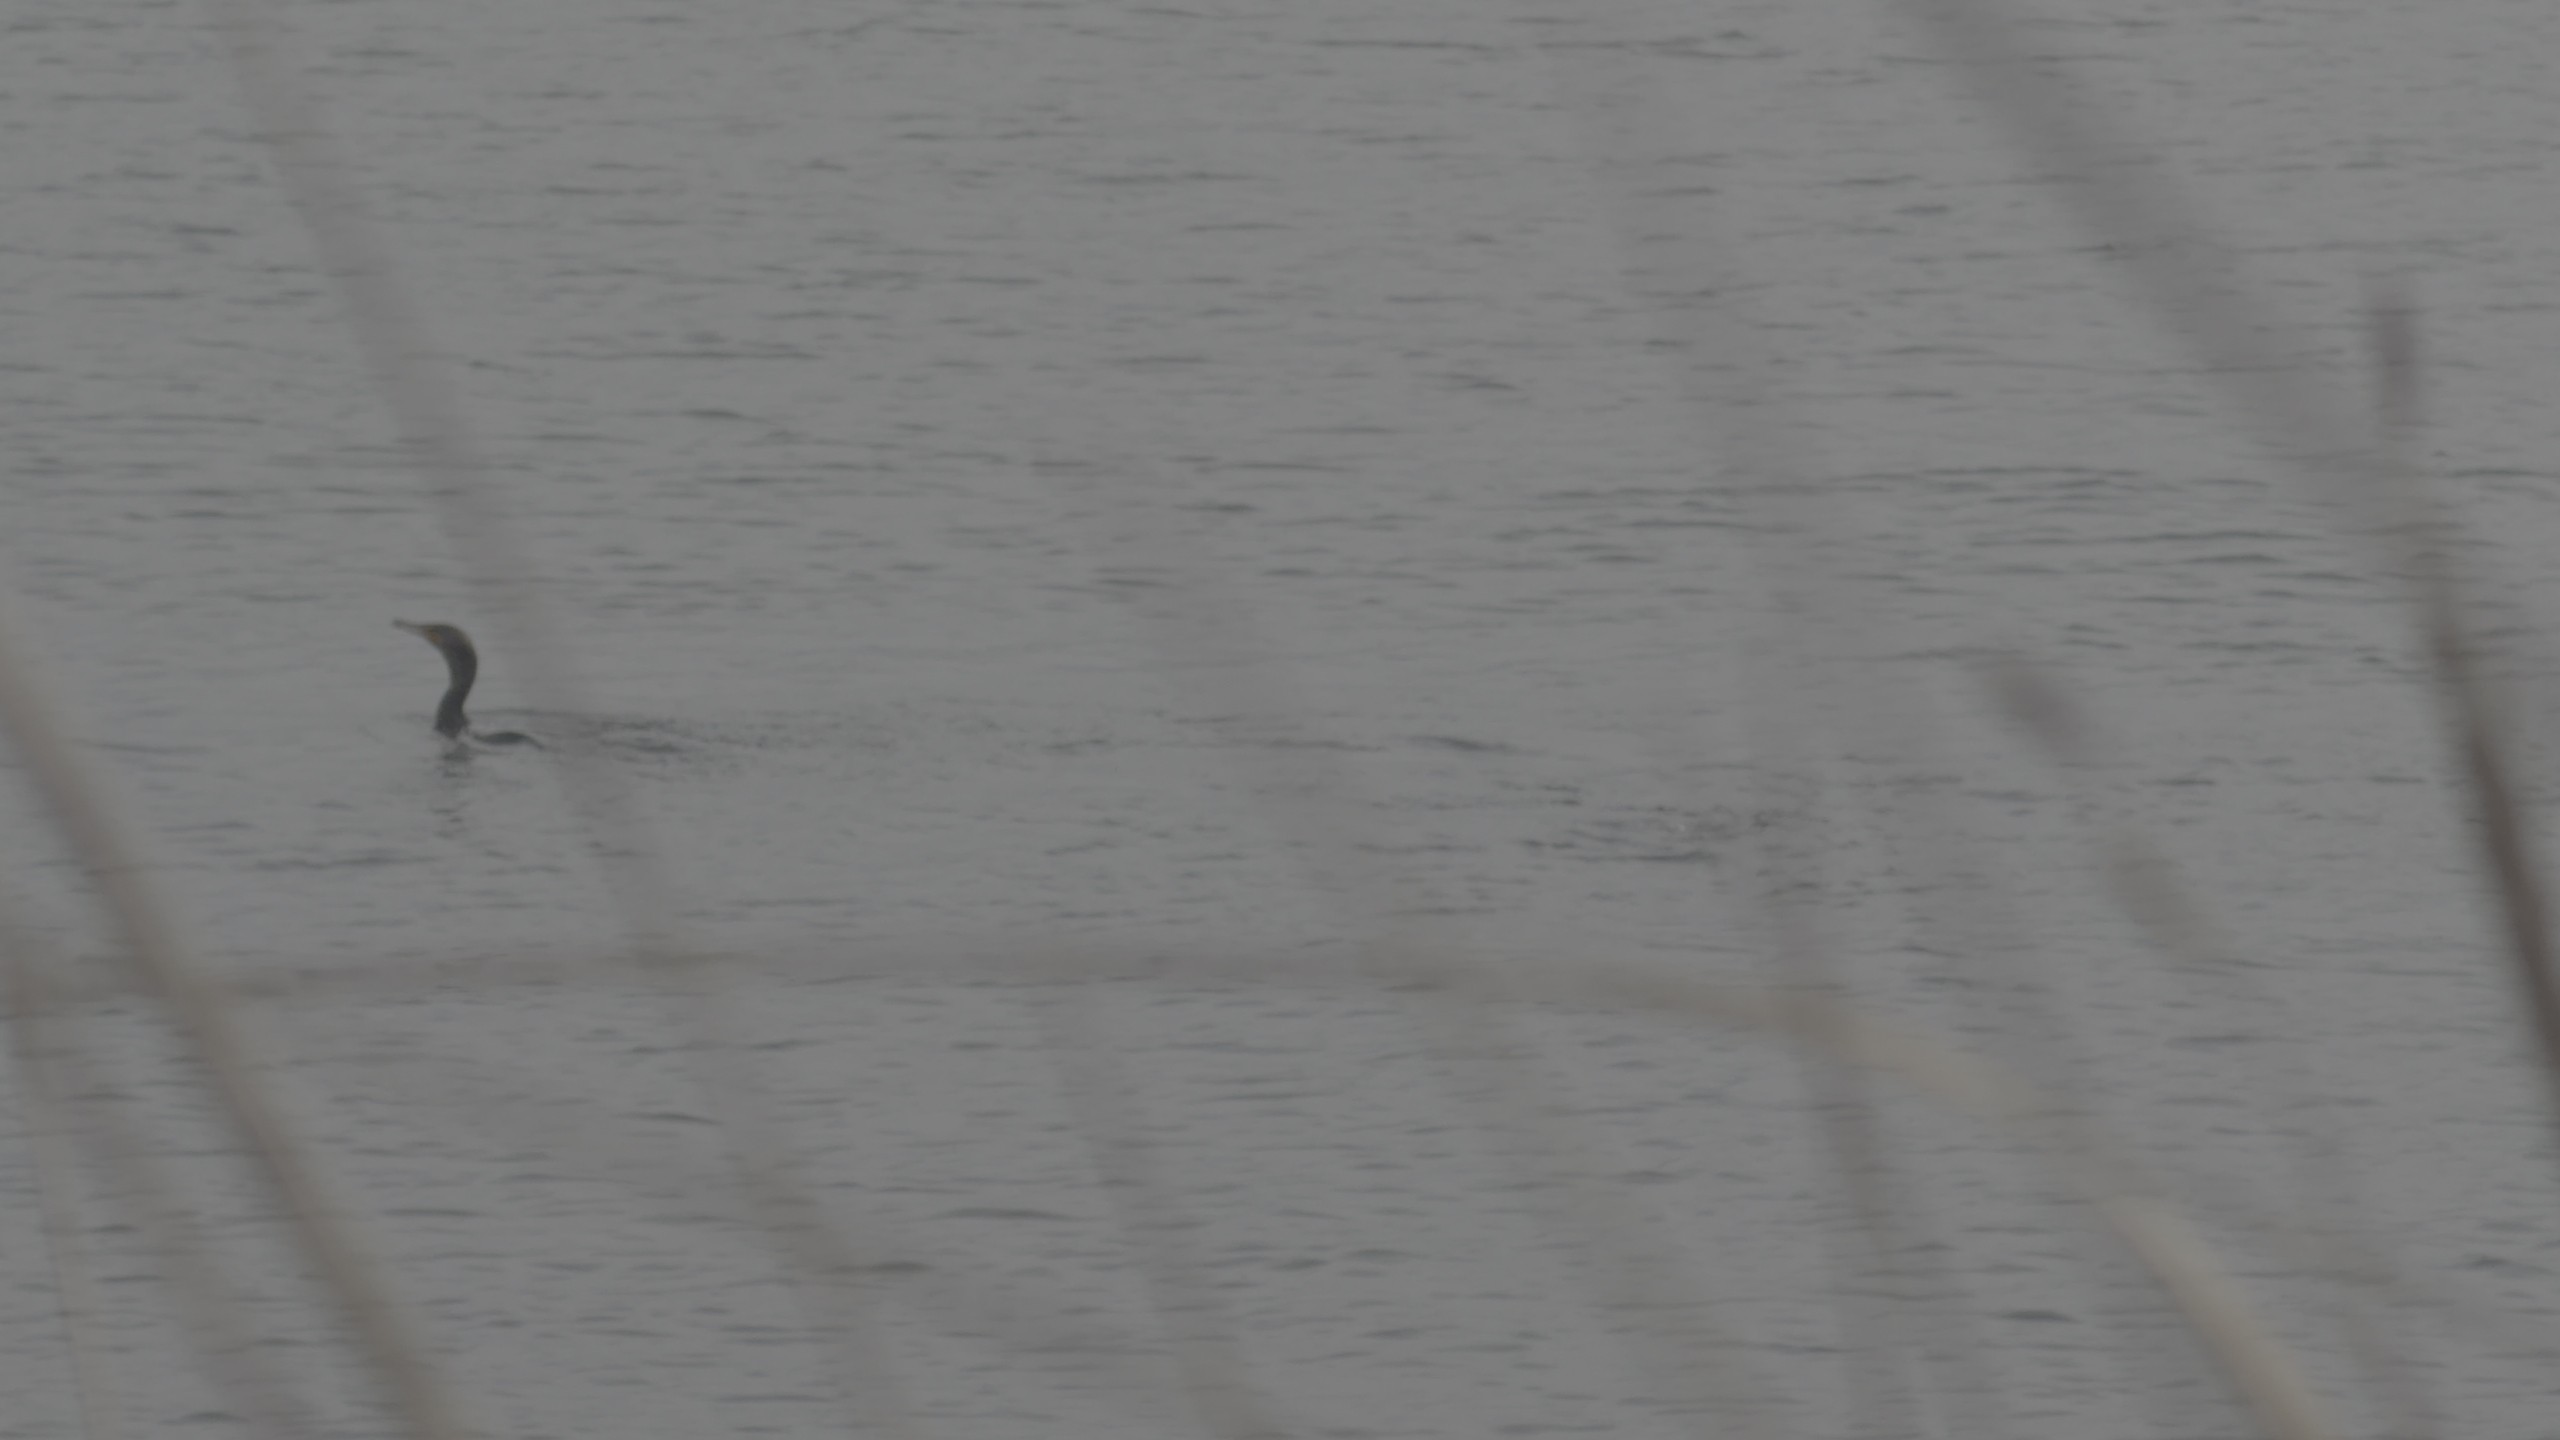
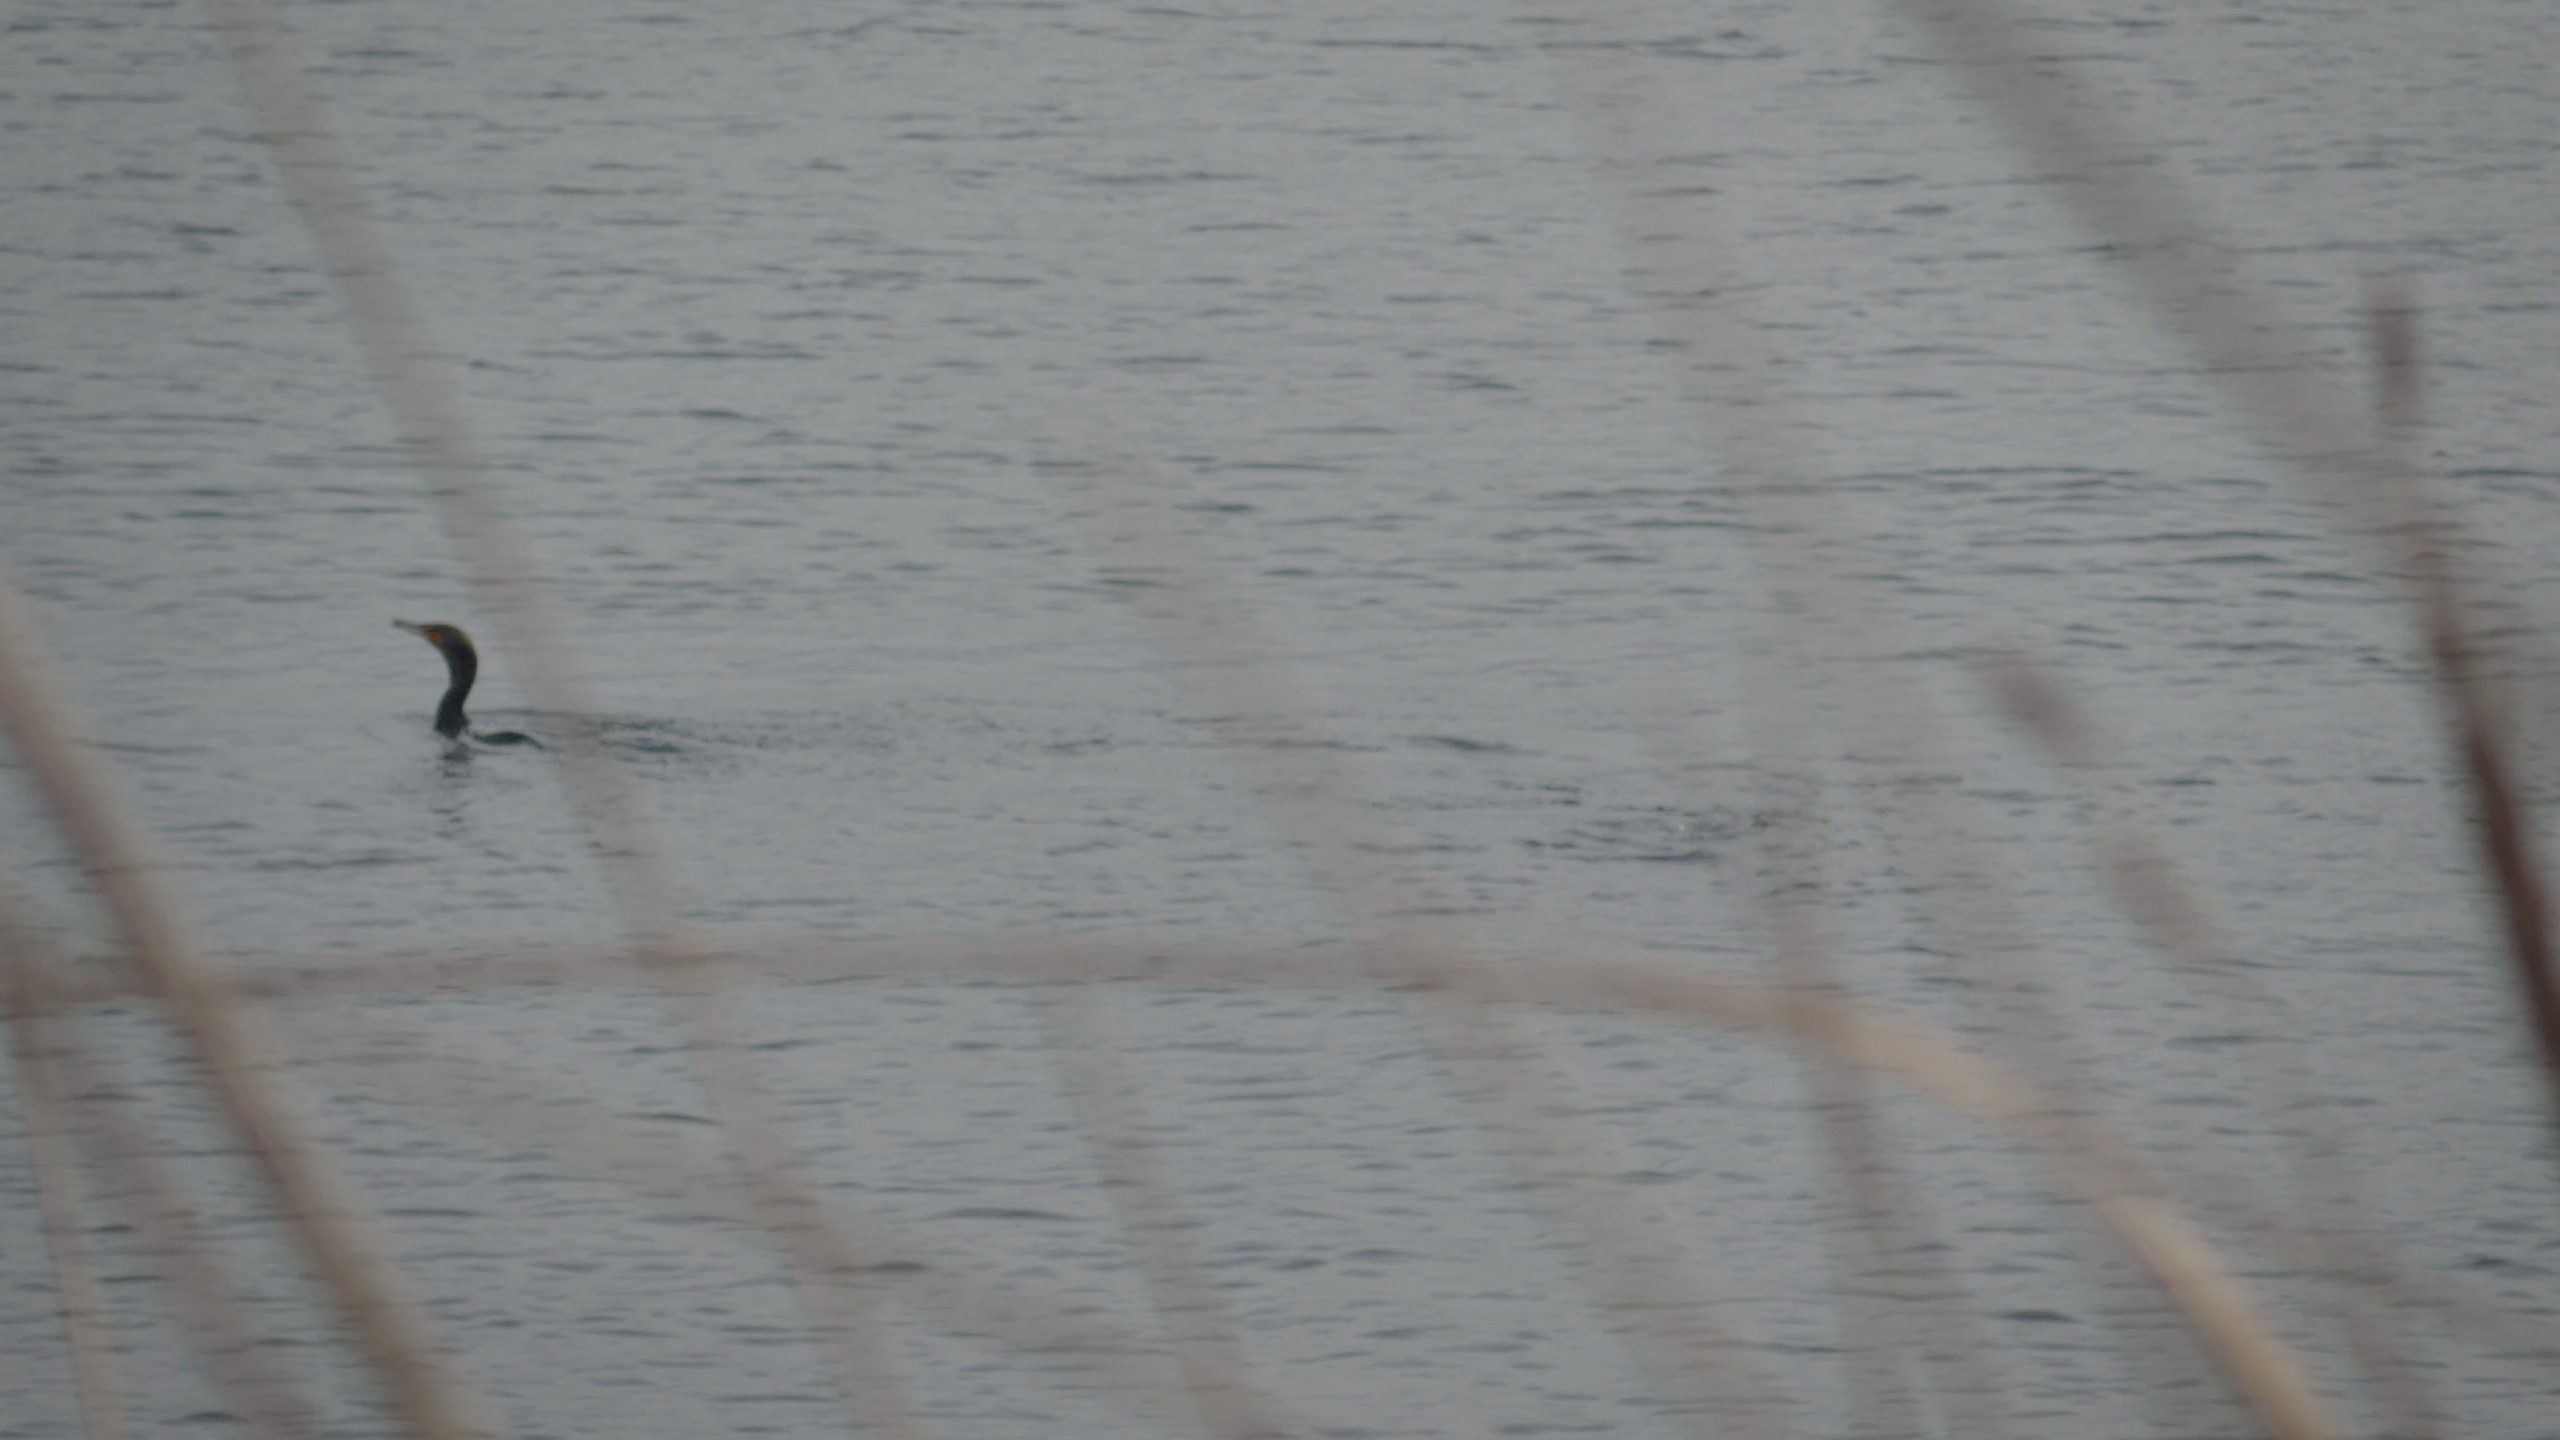
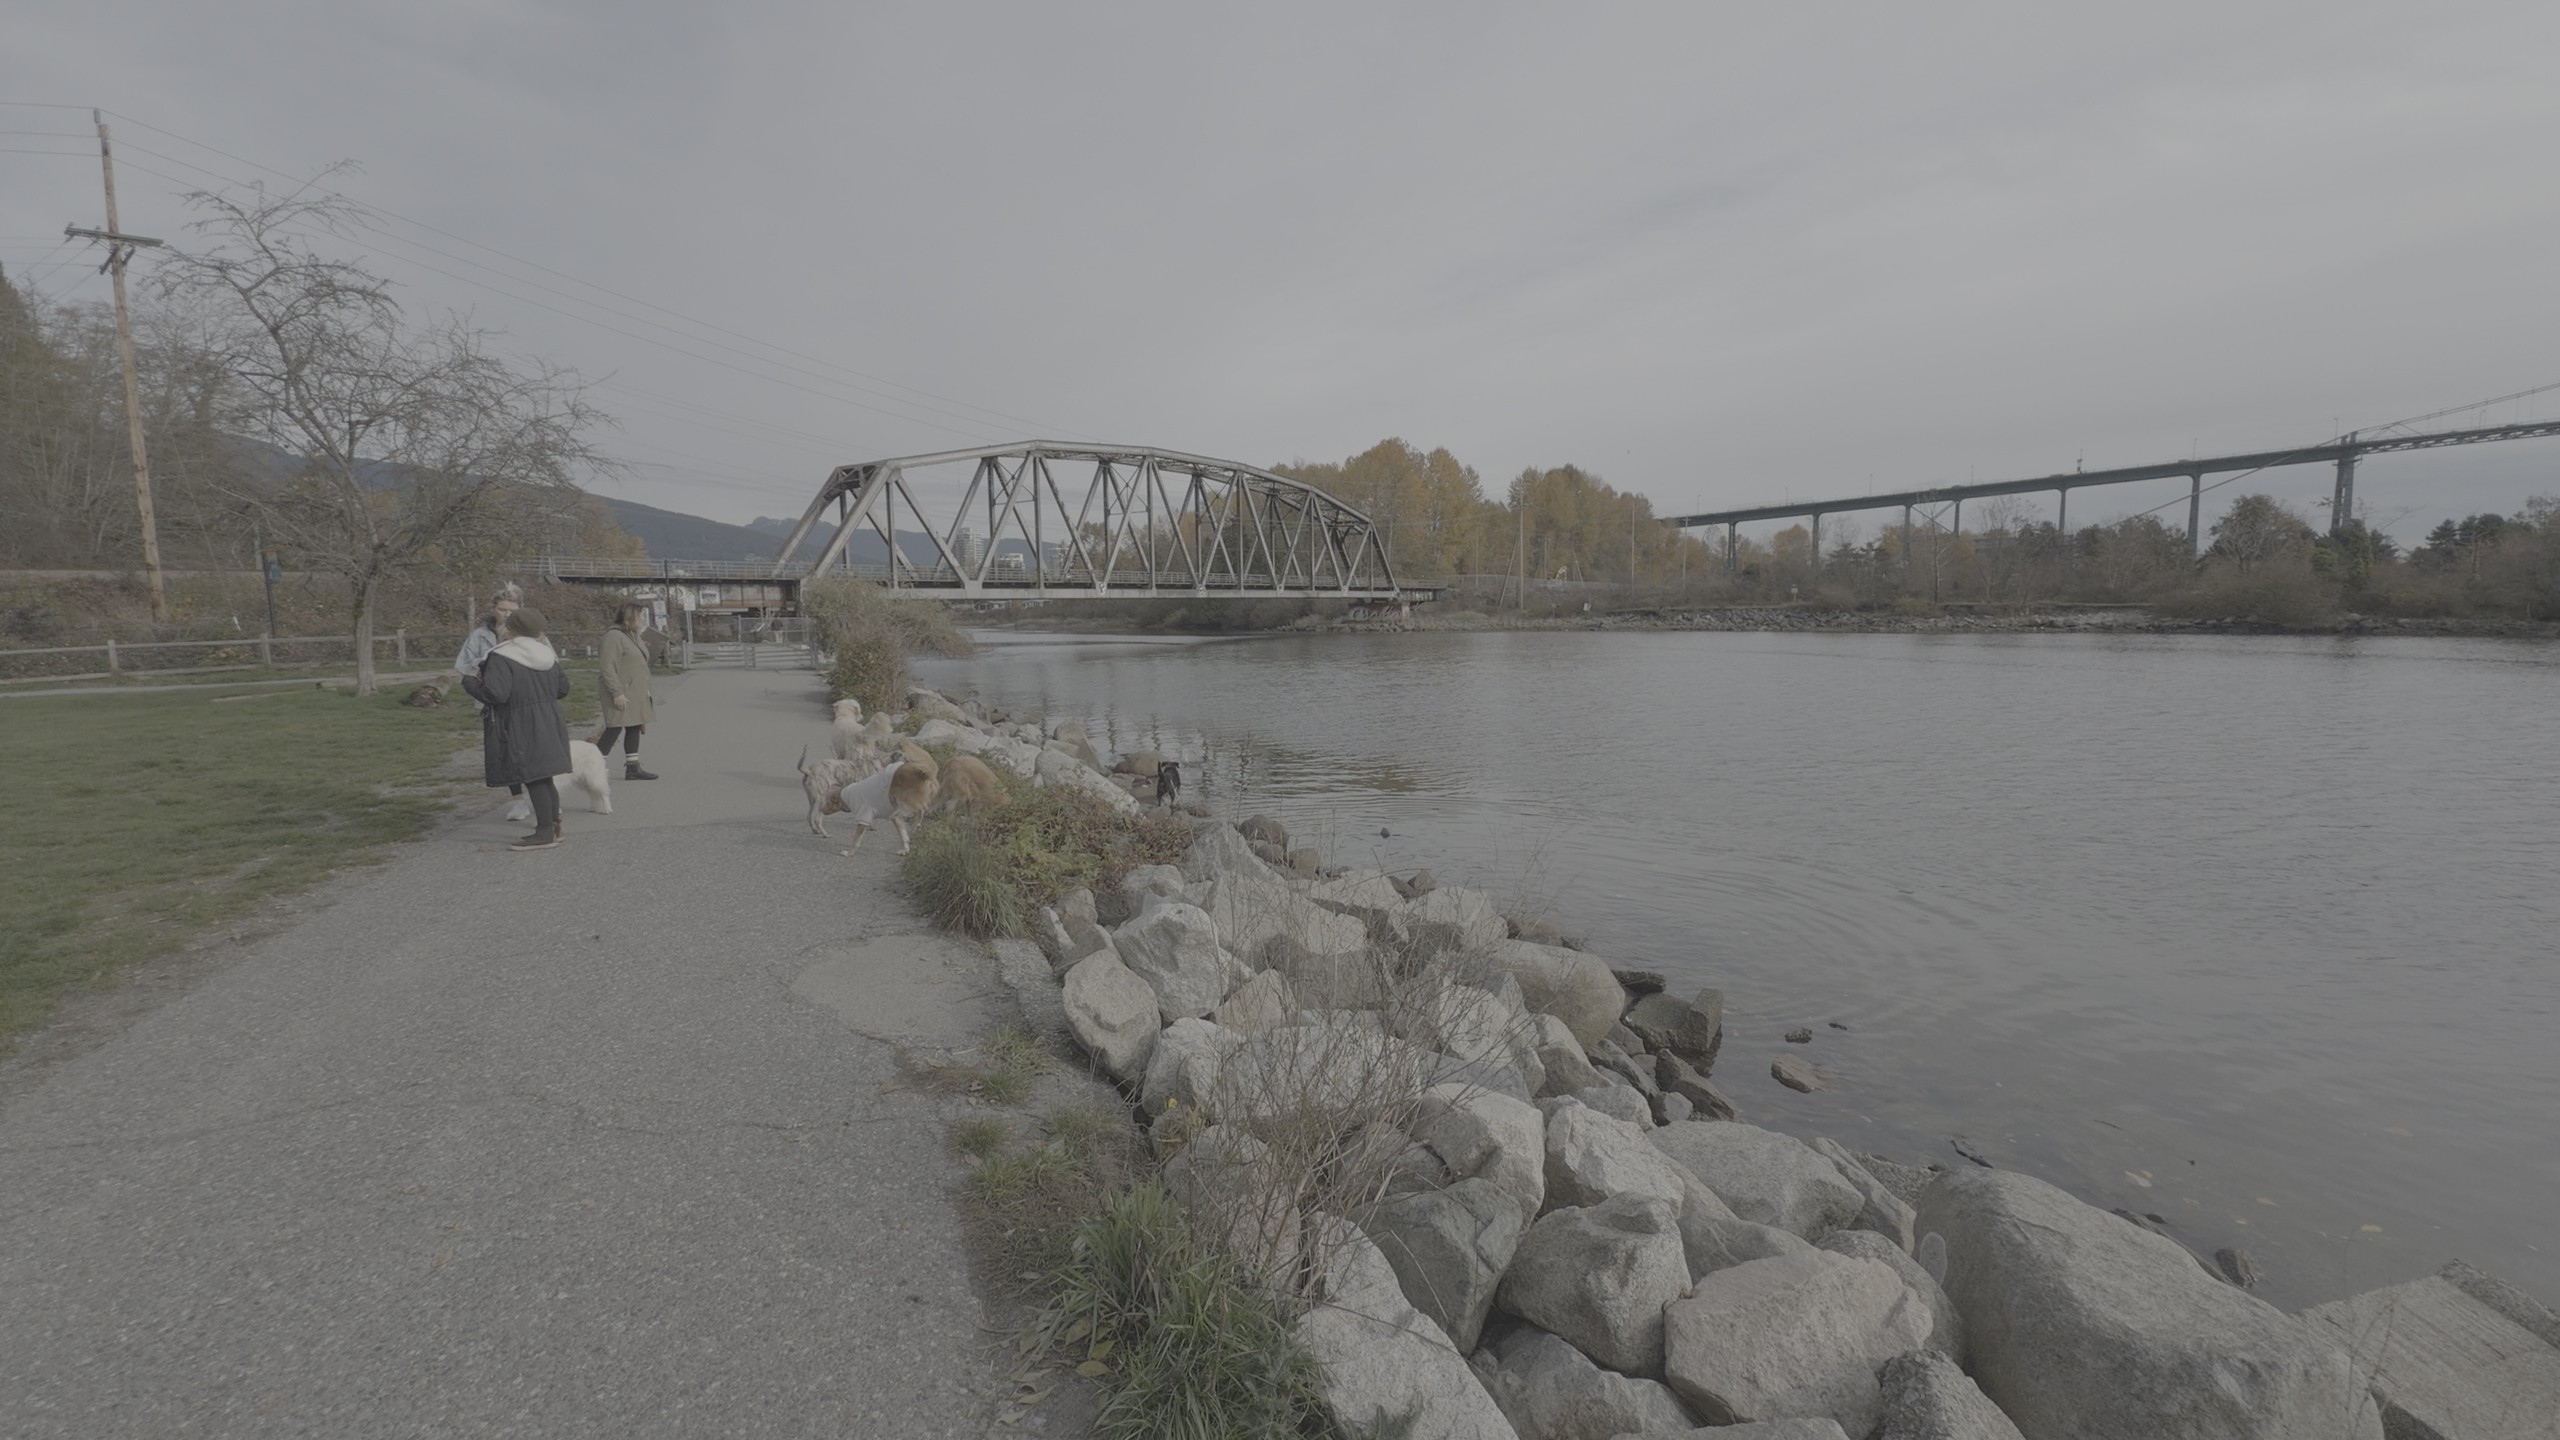
It is wild to me that I now have the ability to record 4K Apple ProRes codec with Apple Log 2 on my phone! Technology can be pretty cool sometimes, eh? I got the iPhone 17 Pro Max at launch, but this is my first time taking the Blackmagic Camera app for a spin to see what it could do. I have some small points to nitpick, but I keep reminding myself this wasn't filmed on a mirrorless camera—this is from my dang phone!
The Settings
In the Blackmagic camera app, I had a few settings manually set and left the rest on auto.
Setting | Value |
|---|---|
Lens + Aperture | 13mm (f2.2), 24mm (f1.8), 100mm (f2.8), 200mm (f2.8) |
Frame Rate | 24fps |
Stabilization | Standard |
Shutter Speed | Auto |
White Balance | Auto |
ISO | Auto |
A Choppy 24fps
I found that with the shutter speed set to auto, the video was looking quite choppy at times. This is because the aperture is set per lens (hence why I combined them in the chart), so the shutter speed and ISO are the values that are changing to maintain the frame rate. With a full manual setup, the choppy frames could be solved by having an ND filter on the lenses—not something I intend to do on the daily, but I know it would help improve this issue.
Default Stabilization
When reviewing the footage, I found that the default stabilization setting in the Blackmagic Camera was lower that what it is in the default camera app. A good portion of my footage was bouncy which didn't help the shutter speed choppiness, and panning resulted in a messy frame that made it hard to see details. In more stationary shots, the images are much more clear.
Digital Zoom
Even if Apple touts the digital zoom as "optical quality" because of the resolution of the sensors, it's still cropped video at the end of the day. the 48mm and 200mm options are crops on the the 24mm and 10mm focal lengths. I didn't use the 48mm at all because I did not want loss of quality—I would rather use the lenses at full sensor sizes. I used the 200mm option because it helps to get that much extra zoom in on distant subjects. At that point, the quality tradeoff can be more worth it.
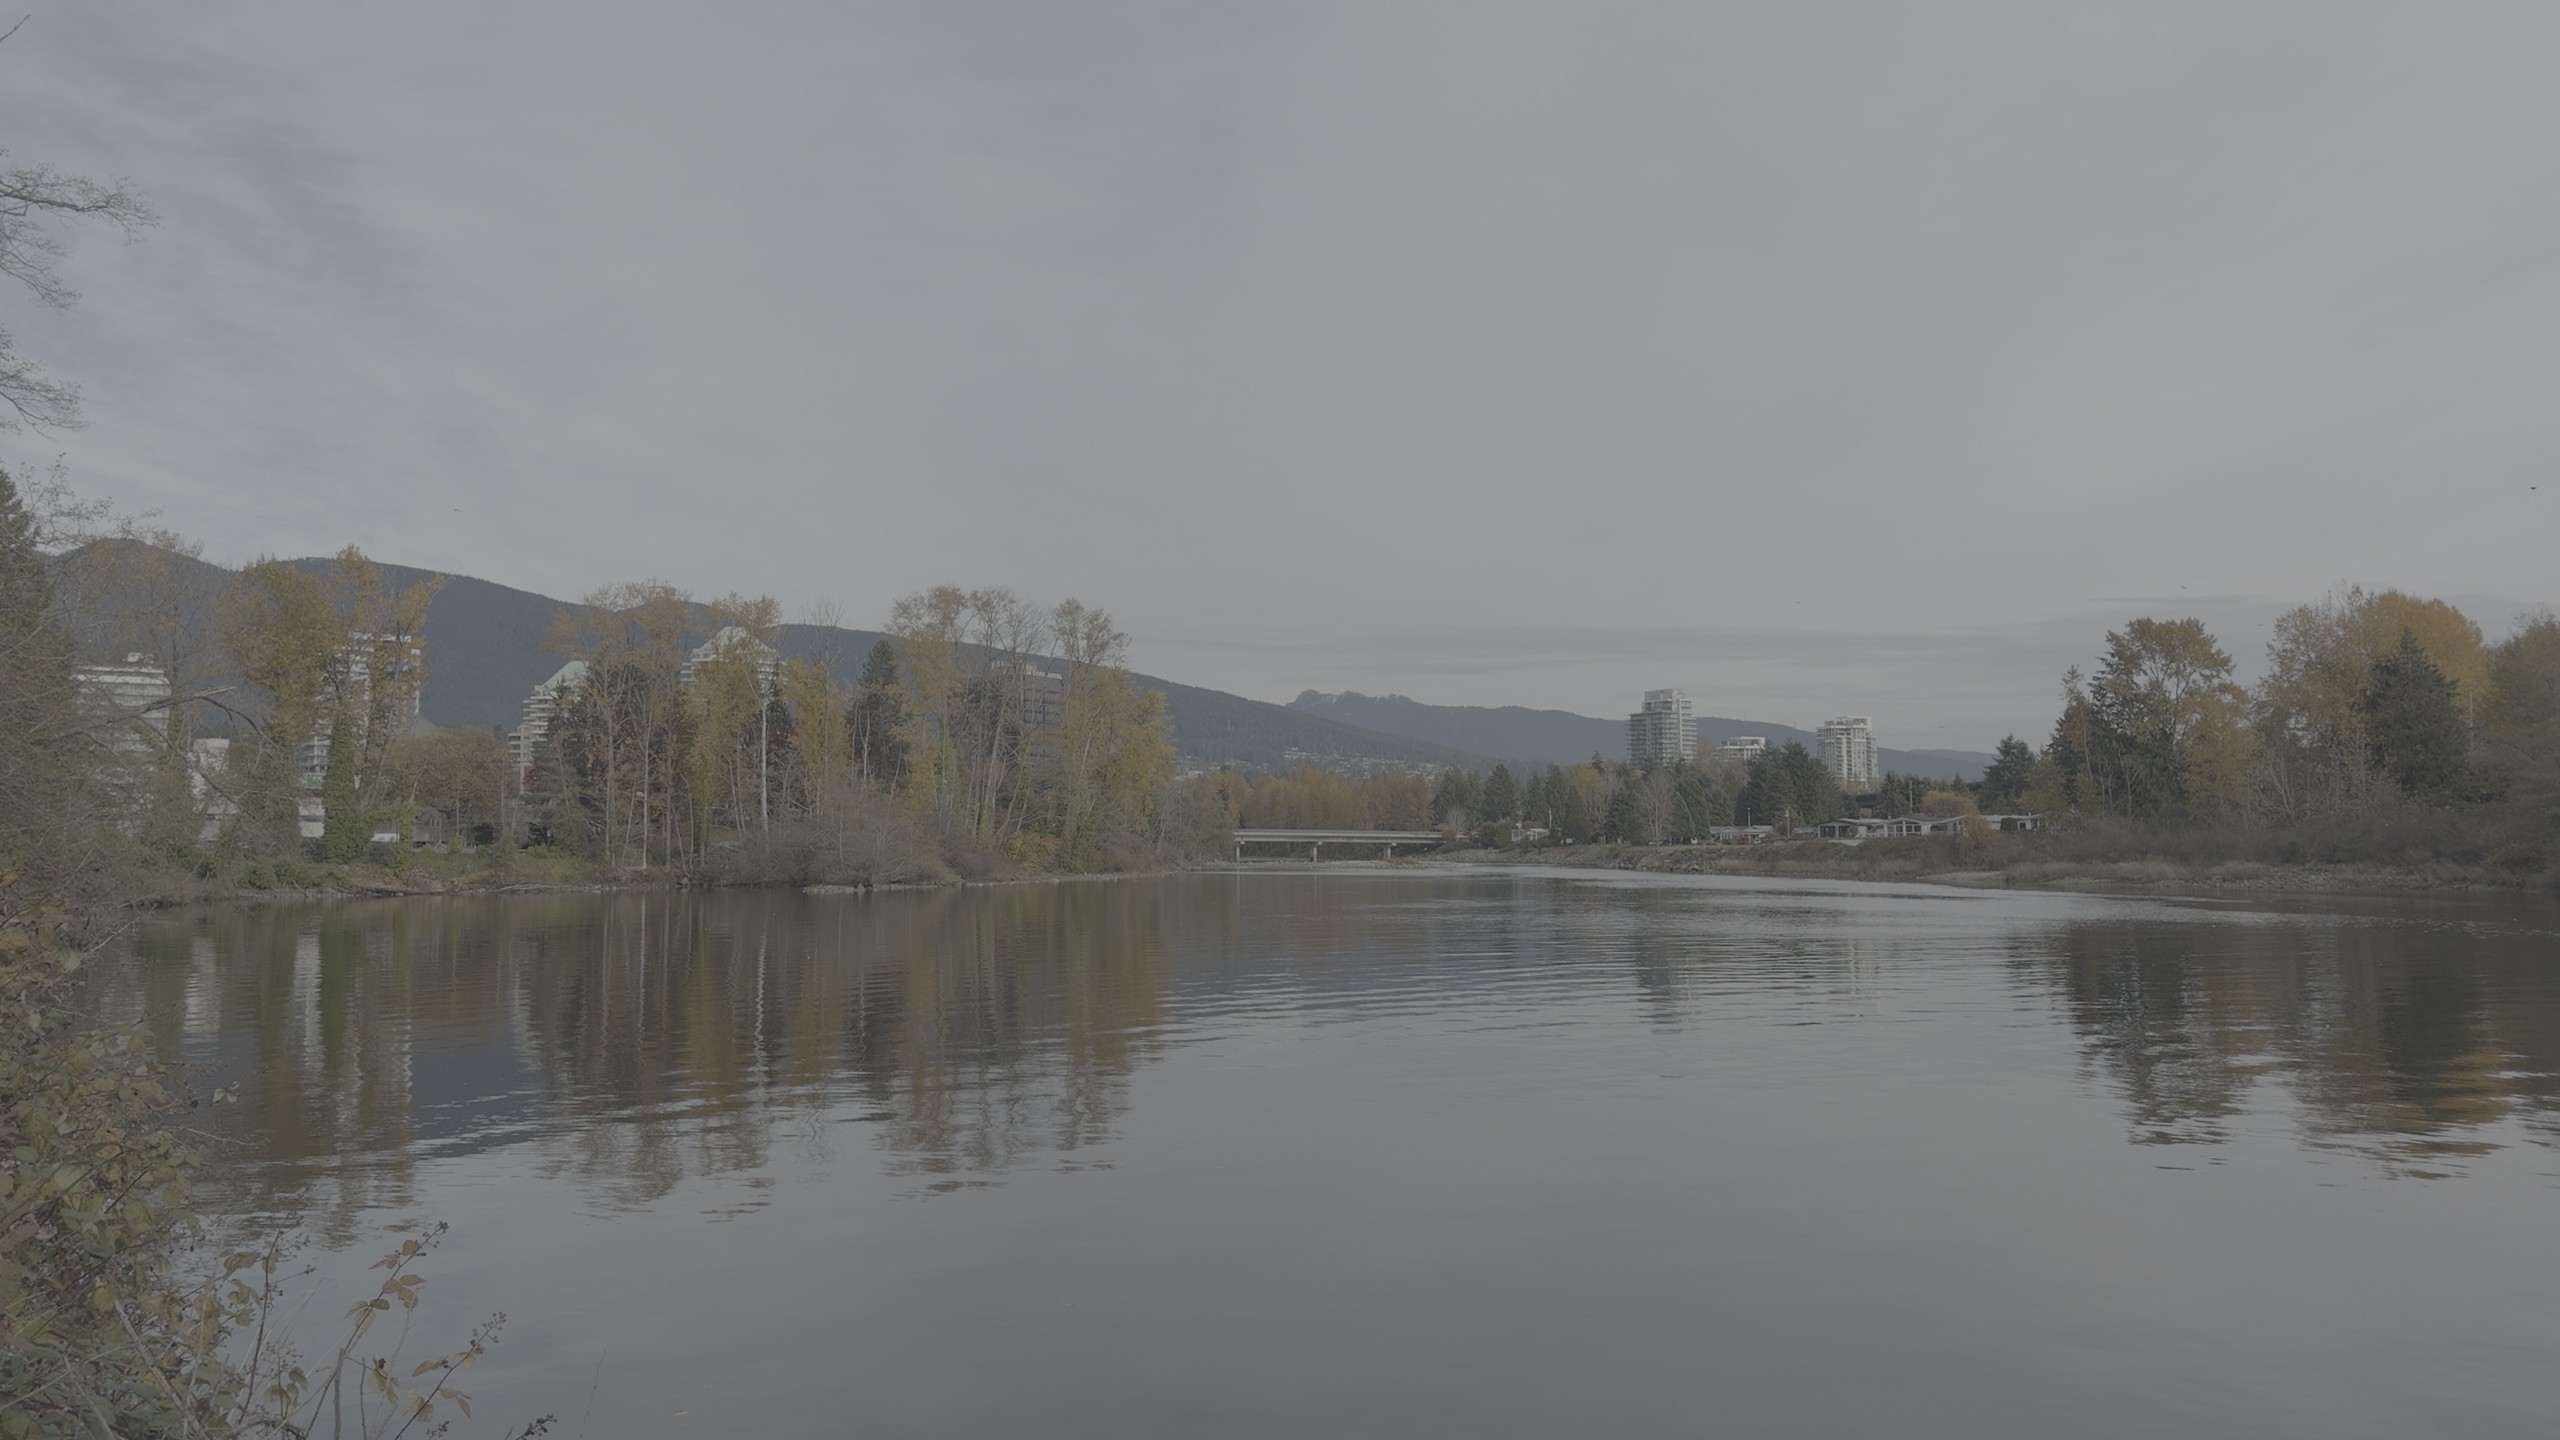
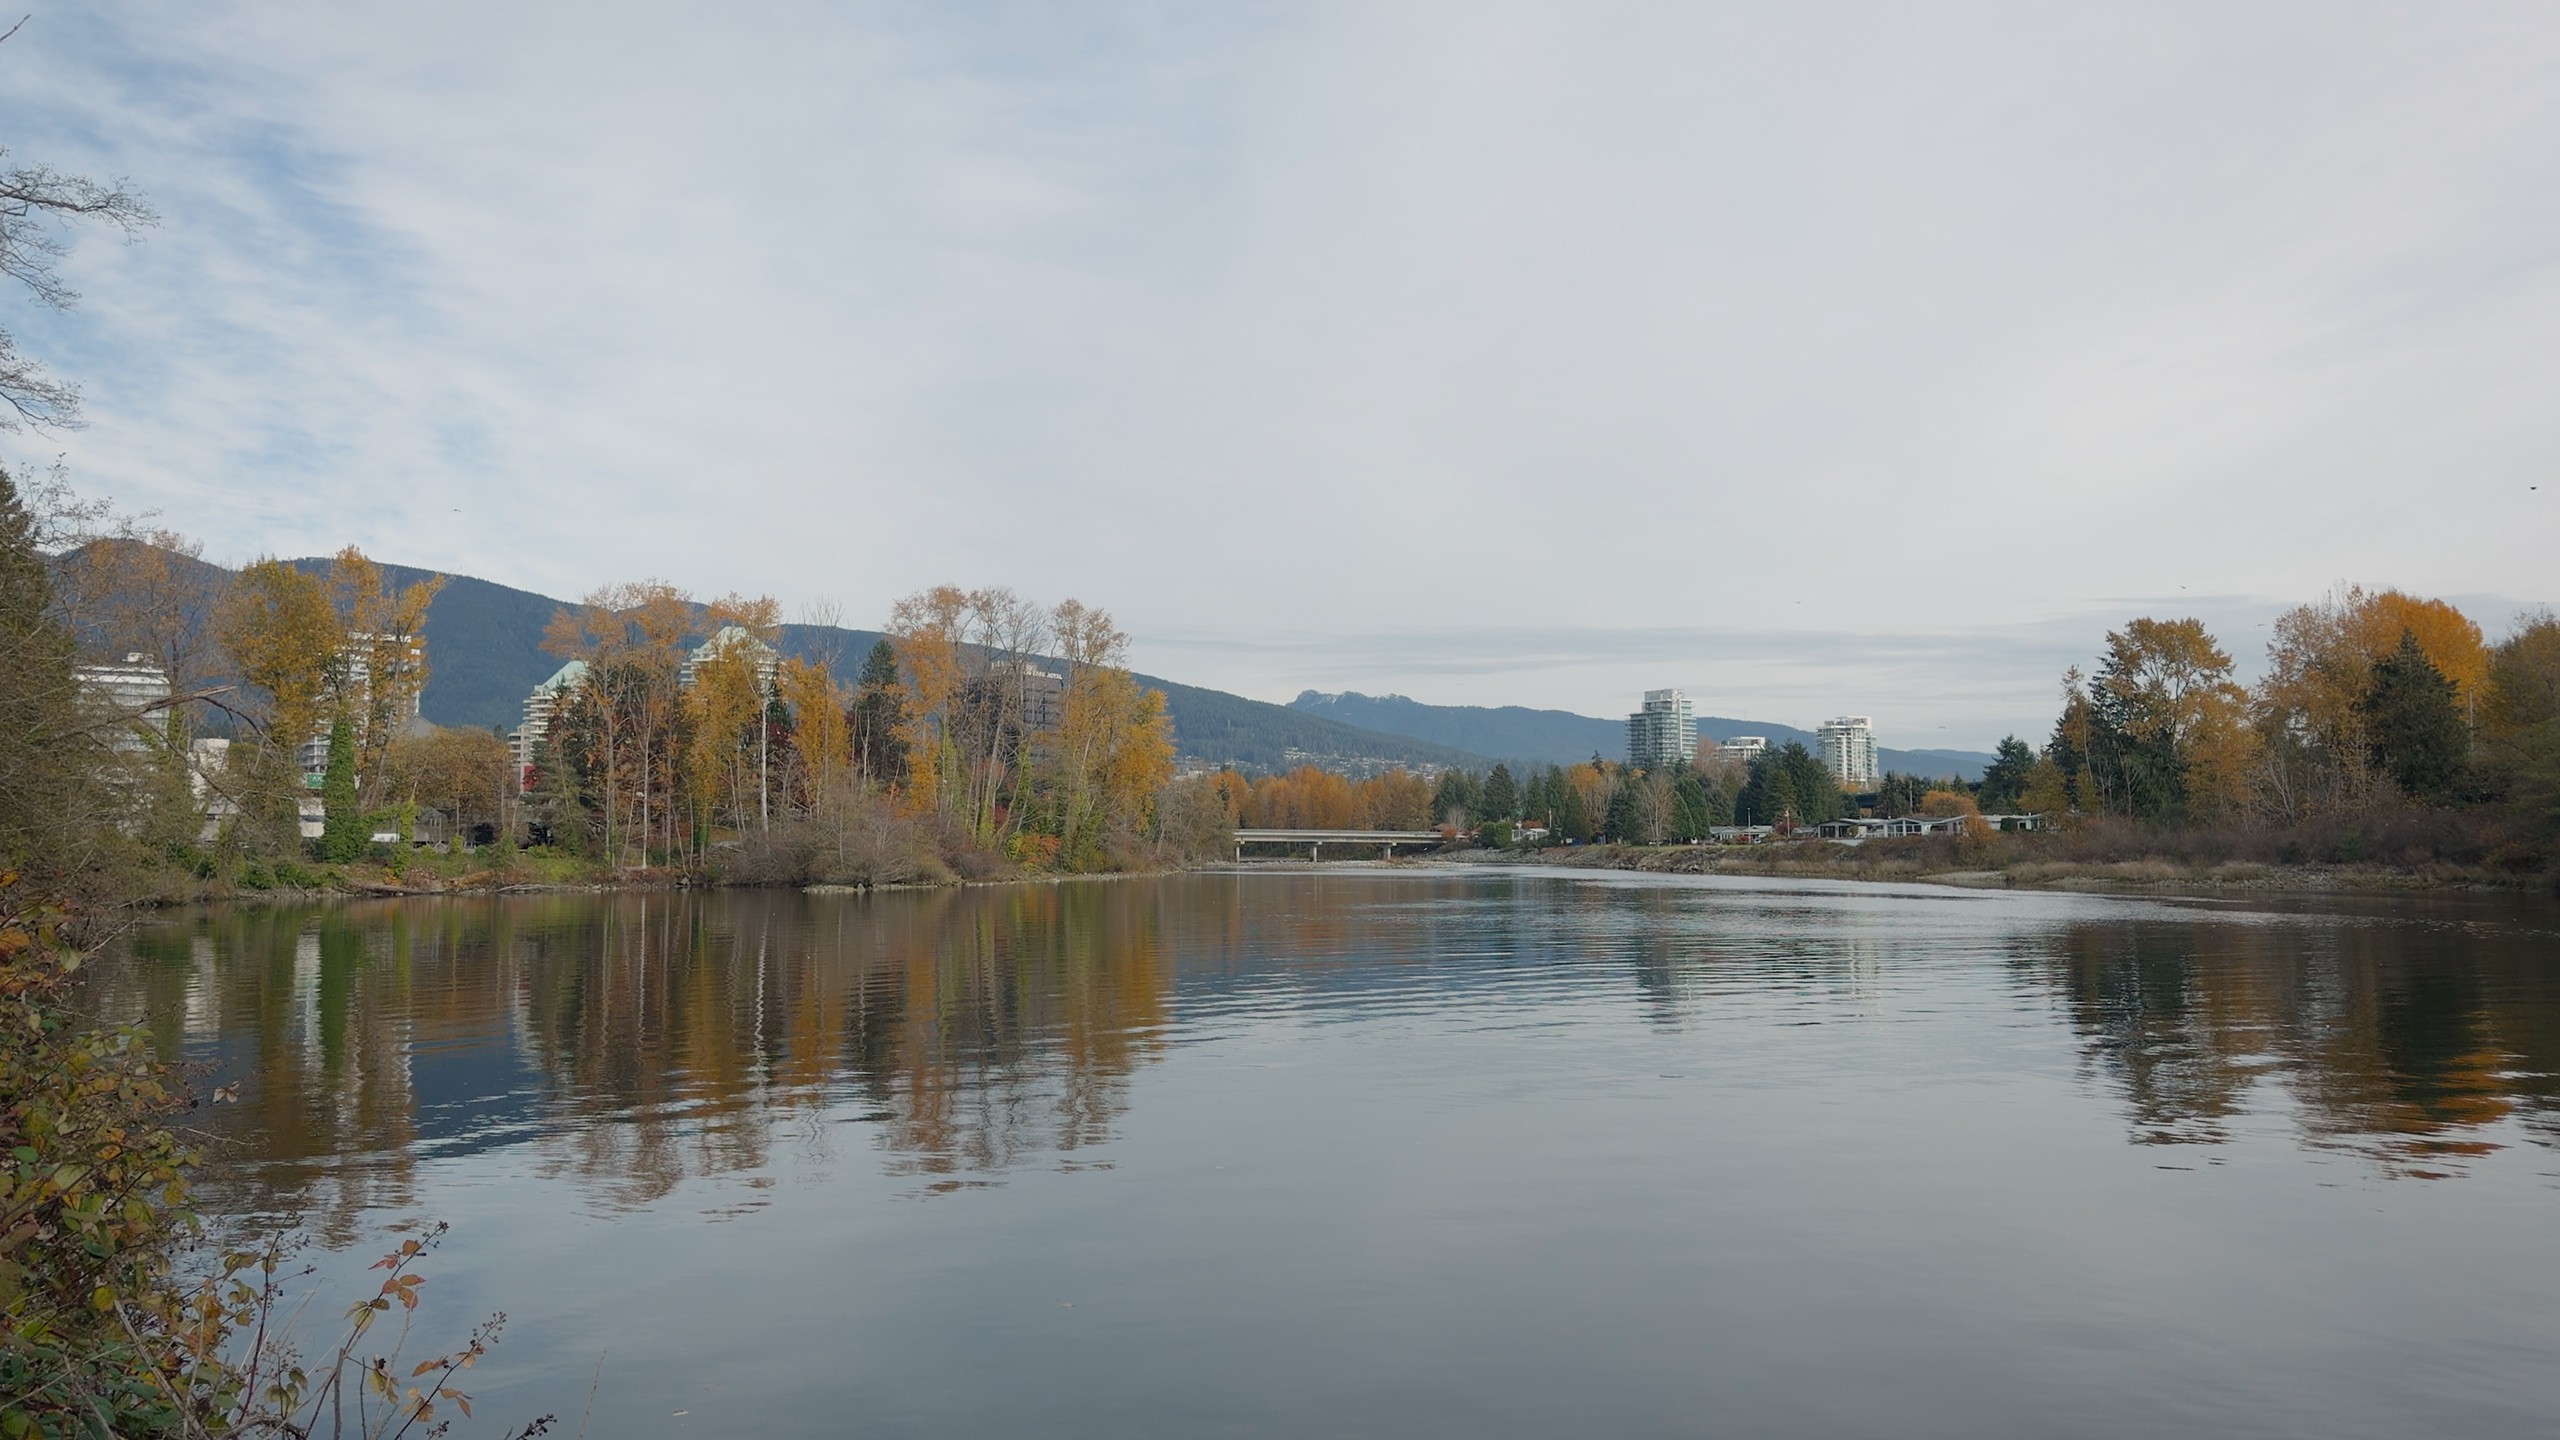
Grading Apple Log 2
I used a free LUT from Gamut (not sponsored) to convert my footage from Apple Log 2 to Rec709. I added in some basic corrections and colour grading past that, but nothing too drastic. Check out some examples below!

Settings I Changed for Test 2
For test shoot #2, I decided to update the frame rate to 30fps to help counter the choppiness of the 24fps experience. I also set the stabilization to cinematic mode. I've already filmed the test footage and I'm working on the video now! I'll share a link here once I've posted it.